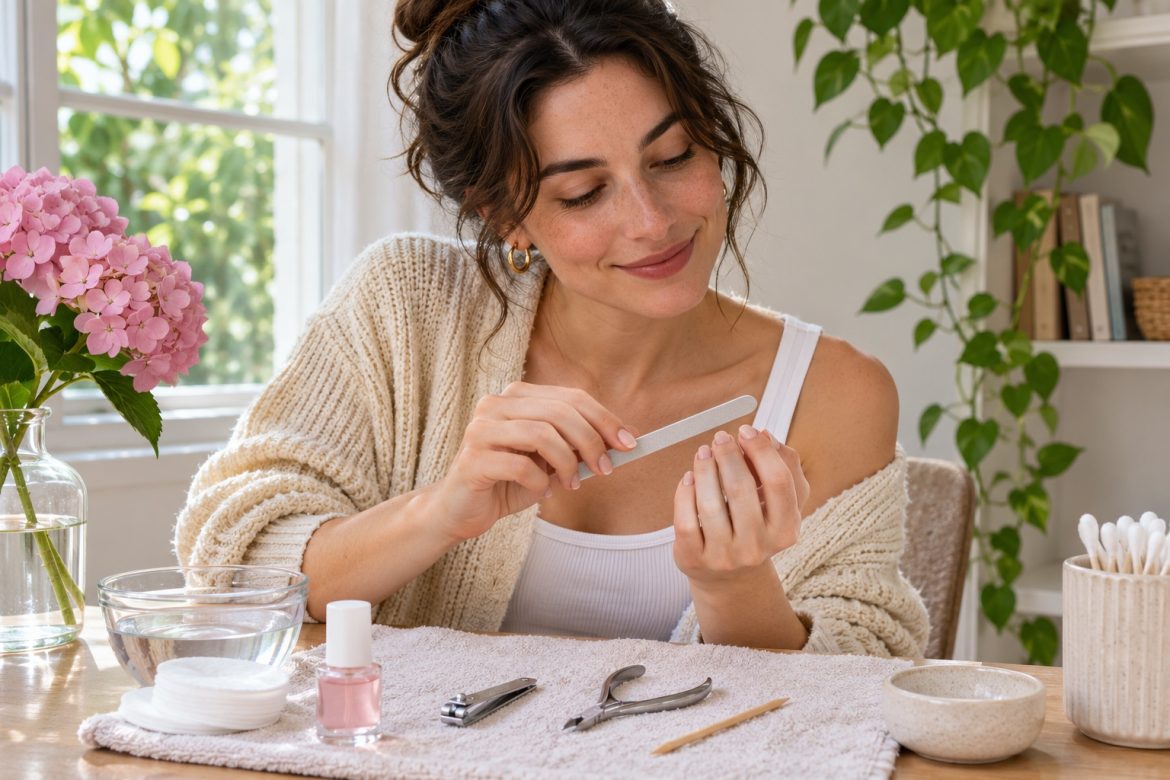
An at-home manicure kit does not need every metal tool sold in a salon aisle. A few clean, sharp basics can handle trimming, shaping, and polish while taking up less space than a large case.
Build around the tools you use
Start with nail clippers or scissors, a file, cotton pads, polish remover if you wear color, and a hand cream. Add a base coat or top coat only if it has a regular place in your routine. A small tray keeps used tools separate until you clean them.
Choose clippers that cut smoothly without crushing the nail. A fine file gives more control than a very coarse one. Store sharp tools in a sleeve so they do not damage the pouch or collect debris.

Trim with nail health in mind
The AAD recommends cutting fingernails almost straight across, then rounding the corners slightly with a file. It also advises leaving the cuticles alone because they protect the nail root.
Trim after a shower or soften the nails in lukewarm water first. File rough edges in one direction rather than sawing back and forth. If a corner is painful or the surrounding skin is swollen, do not dig at it with a sharp tool.
Clean and dry the kit
Wipe tools after each use and disinfect them according to appropriate care instructions. Let everything dry fully before closing the pouch. Do not share clippers or files unless they have been properly cleaned.
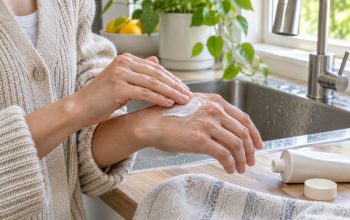
Finish with moisturizer around the nails and hands. If you wear polish, give each coat enough time to dry rather than adding thick layers that dent easily. Keep a few cotton swabs nearby for small cleanup jobs instead of reaching for a sharp tool. A simple kit should make routine grooming calm and repeatable. If it takes longer to unpack than to use, remove the extras.